Create and run
Quickly create an agent and run it on your local machine with built-in agent templates.
Before you begin
- Follow the Get started guide to set up agentregistry and start the agentregistry daemon.
- Install
uv.
Create an agent
Agentregistry comes with built-in agent templates that you can use to quickly spin up agents or customize them to your needs.
-
Create an agent.
The following command creates a
myagentPython agent with the Google ADK agent framework that is configured to use the Gemini provider. When you run the command, amyagentdirectory is created on your local machine that contains the scaffold for your agent.arctl agent init adk python myagent -
Explore the agent scaffold that was created for you. You can optionally make changes to the files to customize your agent further.
ls myagentExample output:
agent.yaml docker-compose.yaml Dockerfile myagent pyproject.toml README.mdTheagent.yamlfile sets the image location that is used by agentregistry when you build the image and push it to your container registry. By default, agentregistry usesghcr.ioas the container registry andlatestas the image tag, such asghcr.io/myagent:latest. If you want to use agentregistry to push images to your container registry, make sure to update this file with the registry and image tag that you want to use. Note that this update is not required if you want to build images locally only without pushing them to your container registry.File Description agent.yamlThe agent definition. This definition holds the registry location and version tag that you want to use when building and pushing the image to your registry. It also adds the MCP server references that you added to the agent. docker-compose.yamlA Docker compose file that is used to spin up and run your agent when you use the arctl agent runcommand.DockerfileThe Dockerfile to spin up and run your agent in a containerized environment. myagentA directory that includes the agent.pyscript that defines the agent, including the provider and model that you want to use. The directory also includes the agent card for agent discovery.pyproject.tomlThe dependency definition of your agent. README.mdAn introduction to the agent that you created with instructions for how to further customize it.
Run the agent
-
Save your Gemini API key as an environment variable. To retrieve your API key, log in to the Google AI Studio and select API Keys. This key is required to interact with the agent through the Gemini LLM provider.
export GOOGLE_API_KEY=<apikey> -
Run the agent on your local machine.
The following command builds the agent image on your local machine by using the image location and tag that is defined in the
agent.yamlfile. Then, it opens a terminal window where you can start chatting with your agent.arctl agent run myagent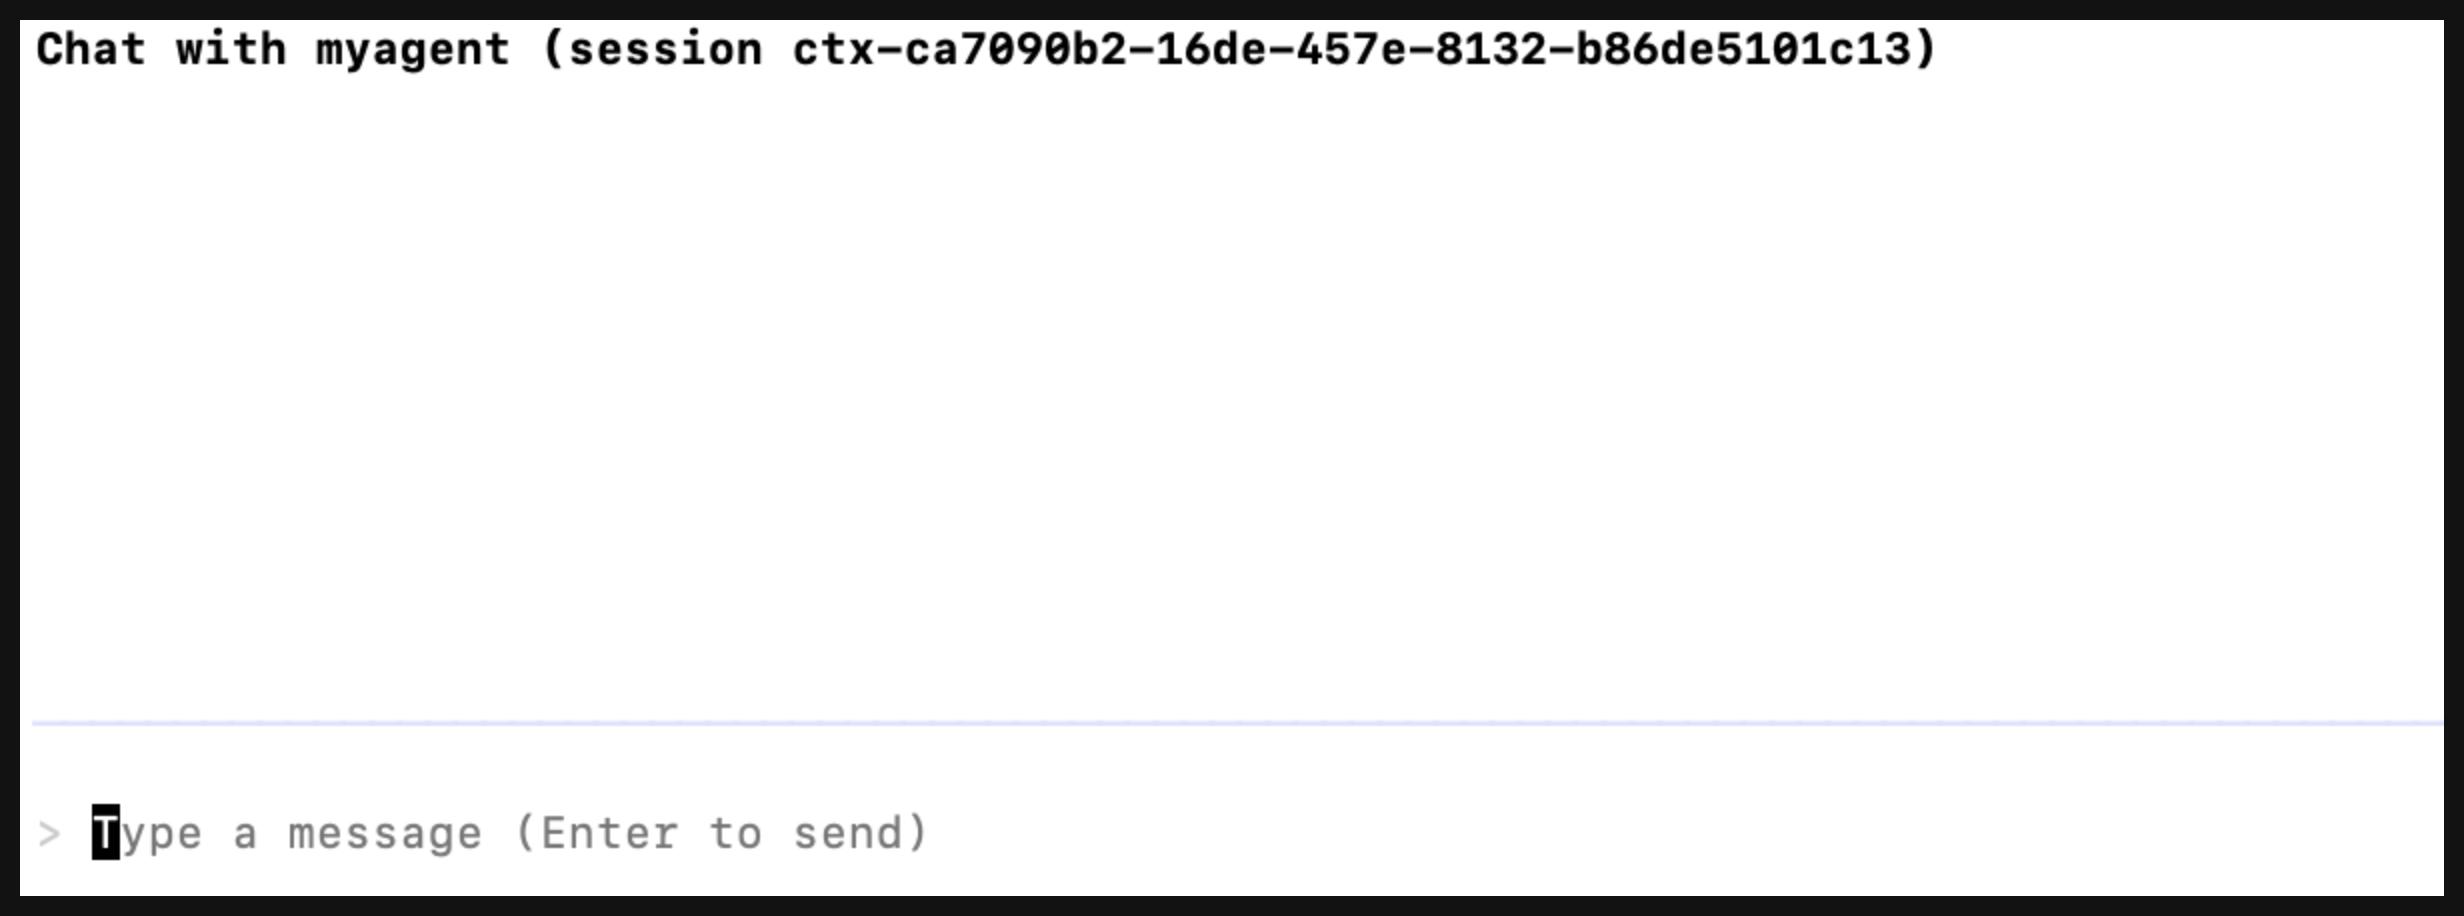
-
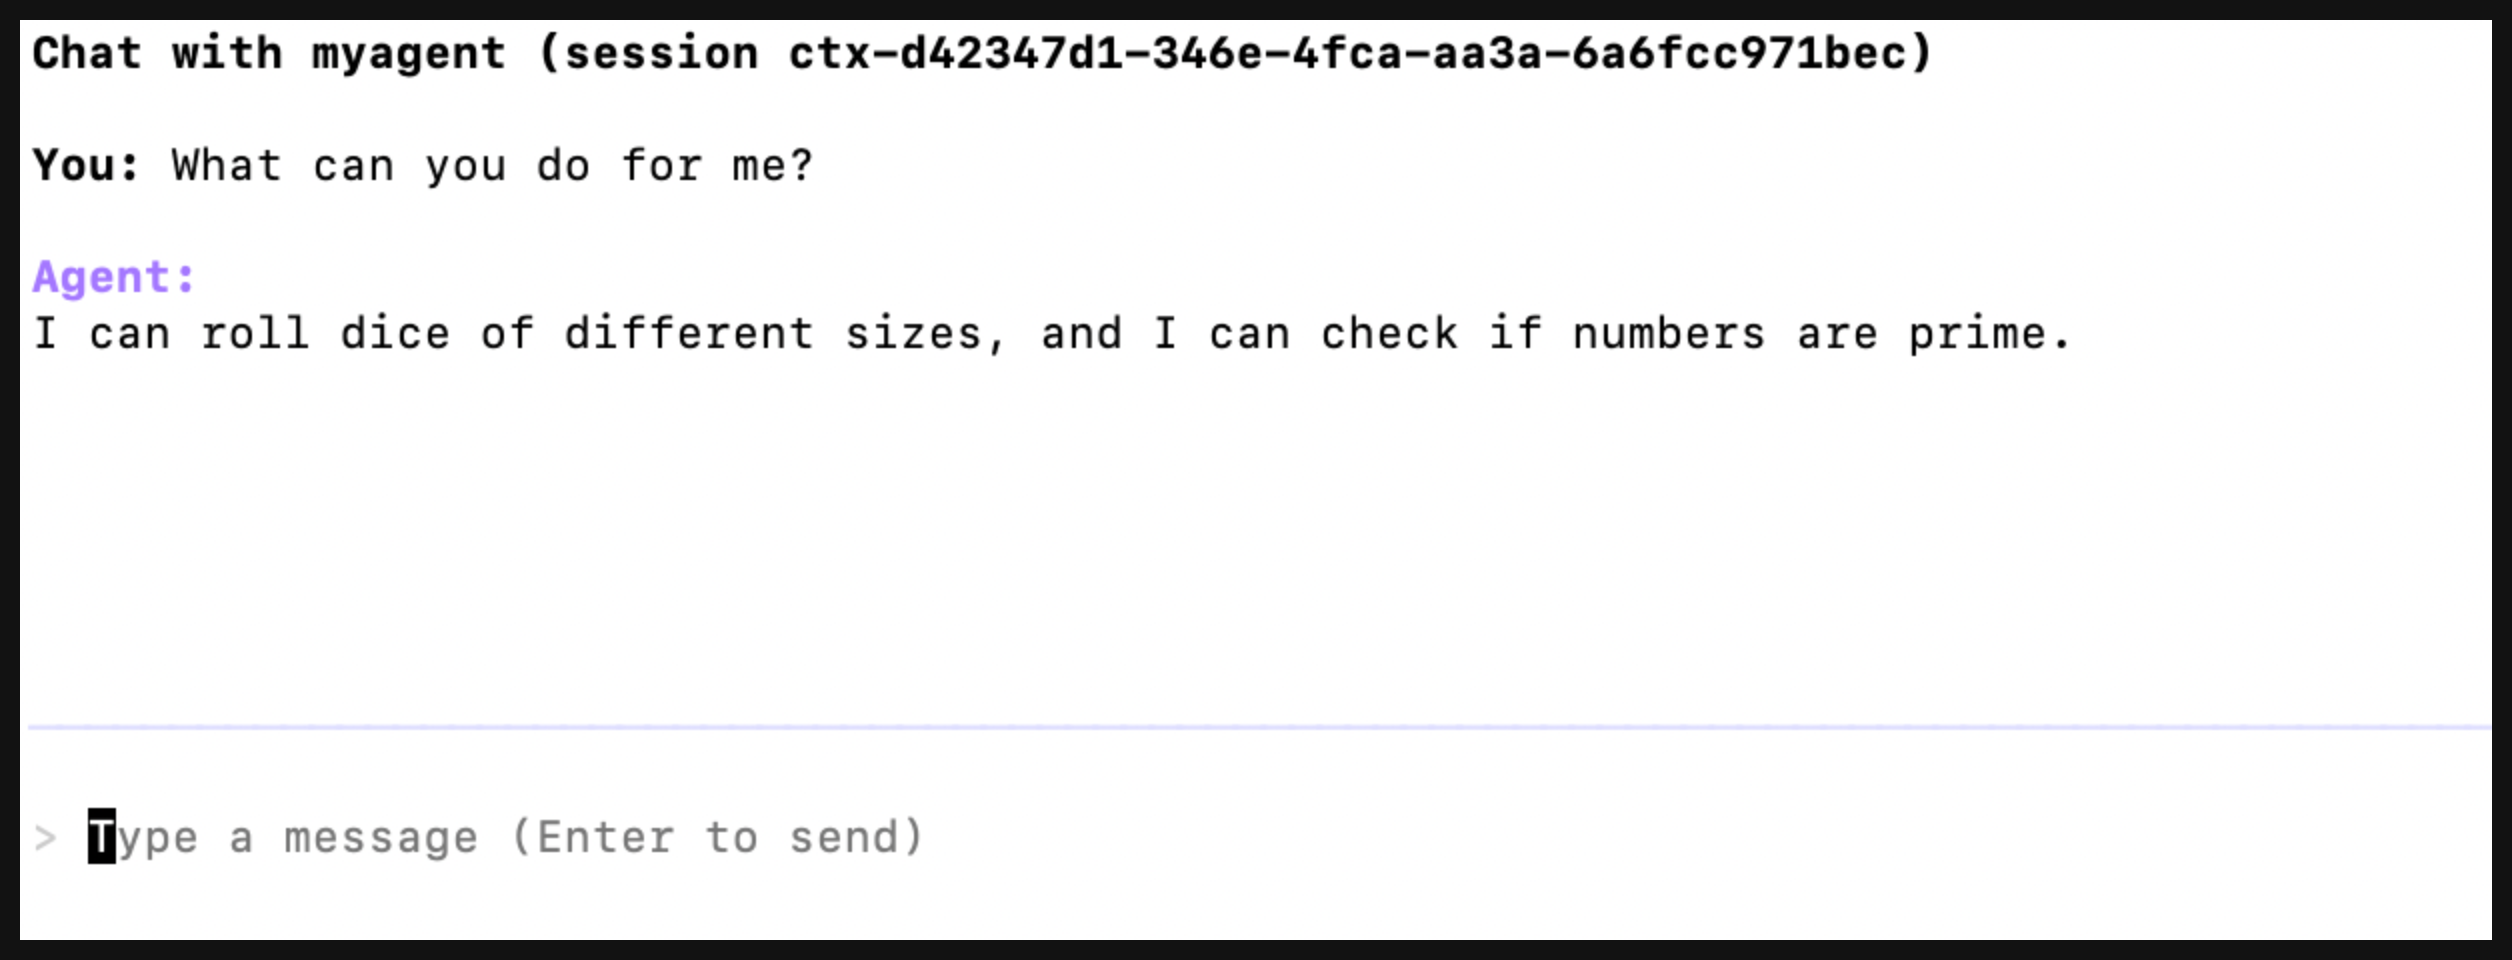
Chat with the agent. For example, you can ask it what it can do for you. Then, hit Enter and wait for the agent to reply.
-
Exit the agent by using the
ctrl + ckeys.
Next
Publish your agent to agentregistry so that you can start deploying it to your environments.